
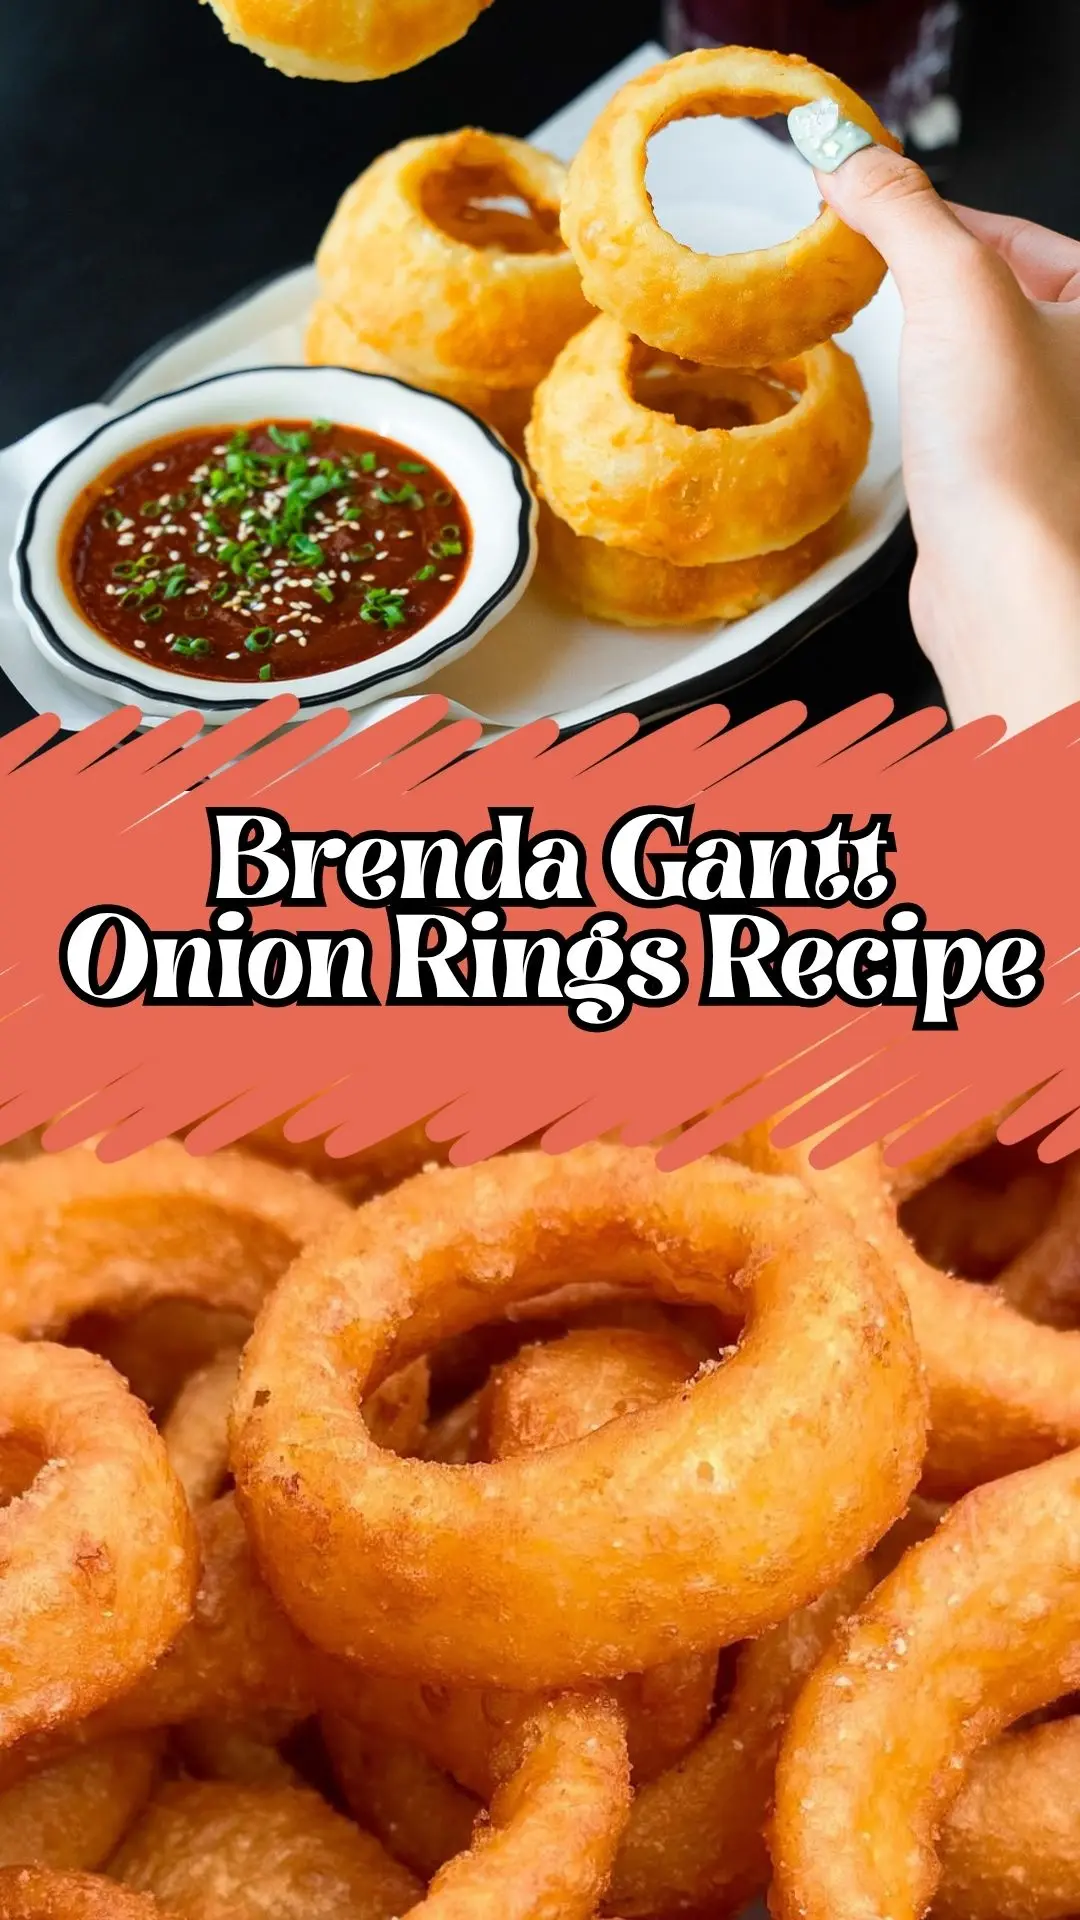
There’s something magical about biting into a perfectly golden, crispy onion ring that brings back memories of Southern comfort cooking. Brenda Gantt’s onion rings recipe captures that nostalgic charm with a simple yet foolproof method that delivers restaurant-quality results right in your home kitchen.
This copycat Brenda Gantt onion rings recipe combines the sweetness of fresh onions with a seasoned buttermilk coating that creates an irresistibly crunchy exterior.
Whether you’re hosting a family gathering, planning game day snacks, or simply craving a delicious appetizer, these homemade onion rings will quickly become your go-to recipe. The beauty lies in the straightforward technique and accessible ingredients that come together to create something truly spectacular.
What Does It Taste Like?
These Brenda Gantt onion rings deliver a perfect harmony of flavors and textures that make them utterly addictive. The exterior boasts a satisfying crunch with a golden-brown coating seasoned with paprika, garlic, and onion powder that adds depth without overwhelming the star ingredient.
Inside, the onion rings are tender and sweet, having been gently cooked to bring out their natural sugars while maintaining a slight bite. The buttermilk batter creates a tangy undertone that beautifully complements the sweetness of the onions, while the blend of spices adds warmth and complexity to every bite.
Each ring offers that ideal contrast between crispy exterior and soft interior that defines truly exceptional fried onion rings.
Brenda Gantt Onion Rings Recipe Ingredients
- 2 large onions, cut into 1/2-inch thick slices and separated into rings
- 1 cup all-purpose flour
- 1 teaspoon paprika
- 1/2 teaspoon garlic powder
- 1/2 teaspoon onion powder
- 1/2 teaspoon salt
- 1/4 teaspoon black pepper
- 1 cup buttermilk
- Vegetable oil for frying
Kitchen Utensils
- Deep skillet or Dutch oven
- 2 shallow bowls or dishes
- Baking sheet or wire rack
- Slotted spoon or spider strainer
- Kitchen thermometer
- Paper towels
- Measuring cups and spoons
Copycat Brenda Gantt Onion Rings Recipe
Step 1: In a shallow bowl or dish, combine the all-purpose flour, paprika, garlic powder, onion powder, salt, and black pepper. Stir the dry ingredients until well mixed and evenly distributed.
Step 2: Pour the buttermilk into a separate bowl or dish, creating your wet coating station.
Step 3: Dip each onion ring into the buttermilk, ensuring it is fully coated on all sides and allowing any excess to drip off briefly.
Step 4: Transfer the buttermilk-coated onion ring to the flour mixture and coat it thoroughly, pressing gently to adhere the flour mixture to the onion ring. Shake off any excess flour and place on a prepared surface.
Step 5: Place the coated onion ring on a baking sheet or wire rack. Repeat the dipping and coating process with the remaining onion rings, working in batches if needed.
Step 6: Fill a deep skillet or Dutch oven with enough vegetable oil to submerge the onion rings (about 2-3 inches deep). Heat the oil to a temperature of 375°F (190°C), using a kitchen thermometer to monitor accuracy.
Step 7: Carefully place a few coated onion rings into the hot oil, making sure not to overcrowd the skillet. Fry the onion rings for 2-3 minutes, or until they are golden brown and crispy, flipping once if needed for even cooking.
Step 8: Use a slotted spoon or a spider strainer to remove the fried onion rings from the oil, allowing any excess oil to drain back into the pot.
Step 9: Transfer the fried onion rings to a paper towel-lined plate to remove any additional oil. Allow the oil to return to temperature before frying the next batch.
Step 10: Serve the fried onion rings immediately while they are still hot and crispy for the best texture and flavor.
7 Customization, Serve With, and Pairing Ideas
1. Spicy Cajun Twist: Transform your onion rings by adding 1 teaspoon of Cajun seasoning or cayenne pepper to the flour mixture for a Louisiana-inspired kick that pairs wonderfully with creamy ranch dressing or remoulade sauce.
2. Beer-Battered Version: Replace half the buttermilk with cold beer for an extra-light, crispy coating that adds a subtle malty flavor. This variation creates an even airier texture that’s perfect for beer enthusiasts.
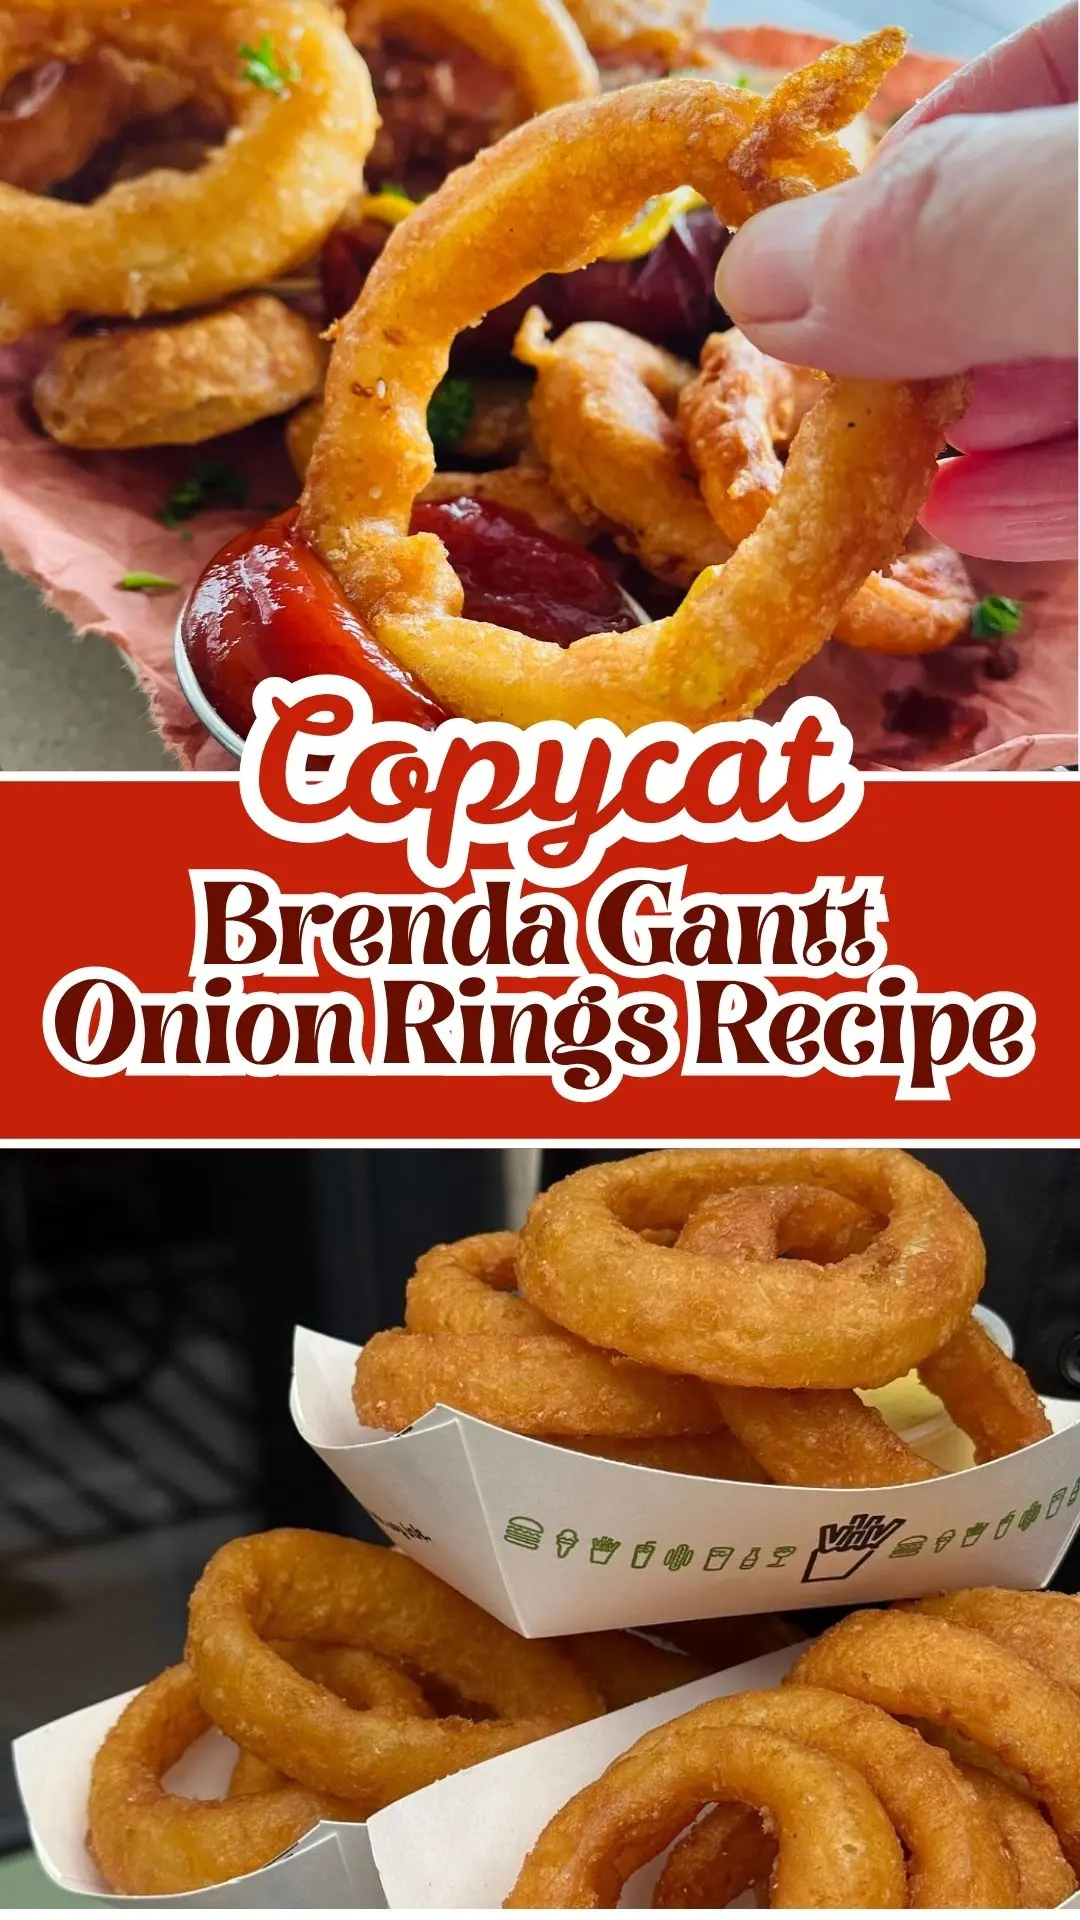
3. Burger Topper Extraordinaire: These onion rings make an incredible topping for juicy hamburgers or pulled pork sandwiches, adding both texture and flavor. Stack them high on your favorite BBQ creations for that authentic diner experience.
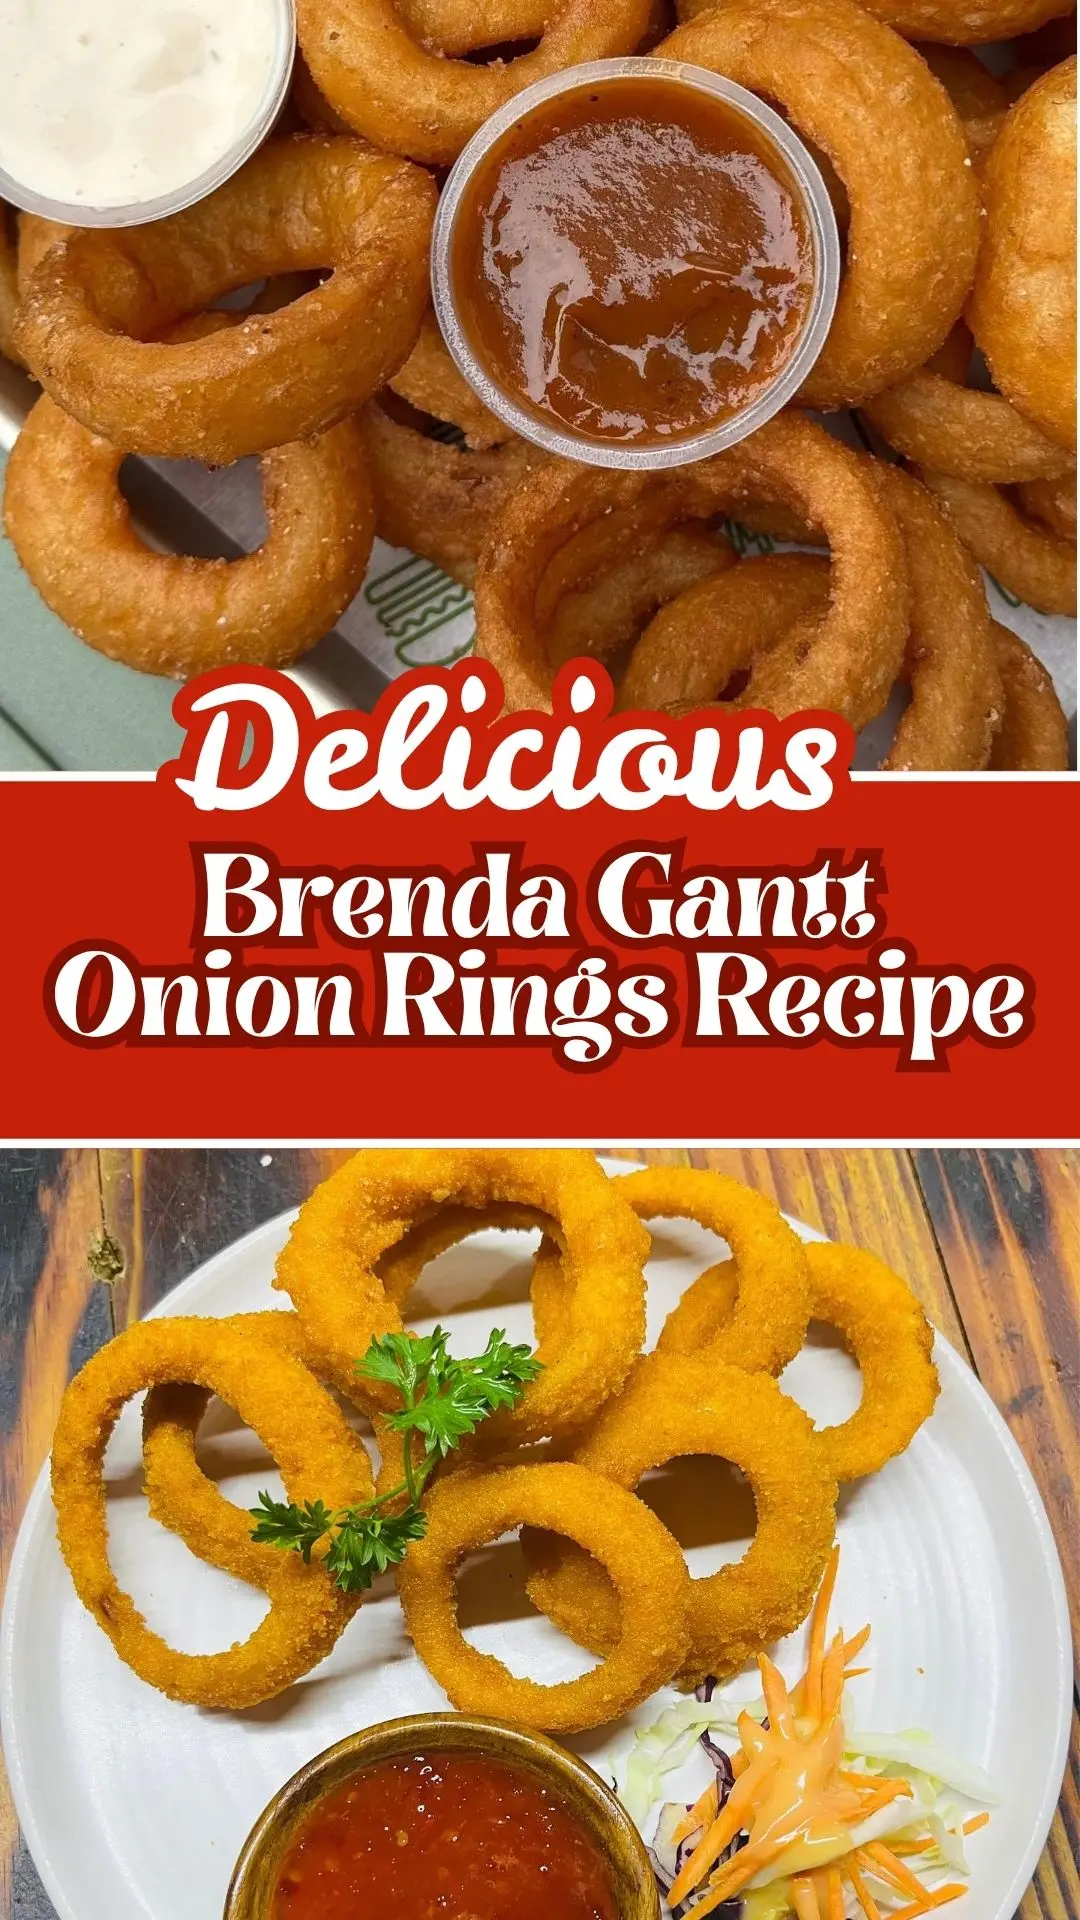
4. Dipping Sauce Trio: Serve alongside a variety of sauces including tangy barbecue sauce, spicy sriracha mayo, and classic honey mustard. Offering multiple options lets everyone customize their experience and discover their favorite combination.
5. Game Day Platter: Arrange these onion rings on a large platter with other Southern favorites like fried pickles, chicken tenders, and mozzarella sticks for the ultimate appetizer spread that’ll disappear in minutes.
6. Salad Garnish: Break tradition by using these crispy rings as a crunchy topping for wedge salads or creamy coleslaw, adding textural contrast that elevates simple side dishes into something memorable.
7. Breakfast Hash Addition: Chop leftover onion rings and fold them into breakfast hash browns or breakfast burritos for a creative morning meal that brings unexpected crunch and flavor to your first meal of the day.
7 Expert Tips
1. Choose the Right Onions: Select large, sweet onions like Vidalia or Walla Walla for the best flavor and structure. Yellow onions work well too, while red onions can add a slightly sharper taste and beautiful color to your finished rings.
2. Maintain Oil Temperature: Keeping your oil consistently at 375°F is crucial for achieving crispy, non-greasy onion rings. If the temperature drops too low, your rings will absorb excess oil and become soggy; too high, and they’ll burn before cooking through.
3. Double Coating Method: For extra-crispy results, try a double dip by coating the rings once, letting them rest for 5 minutes, then repeating the buttermilk and flour process. This creates a thicker crust that stays crunchier longer.
4. Don’t Skip the Resting Time: After coating your onion rings, let them rest on the rack for 10-15 minutes before frying. This allows the coating to adhere better and reduces the chance of it falling off during cooking.
5. Separate Rings Carefully: When separating your onion slices into individual rings, work gently to keep them intact. The outermost rings tend to be largest and most impressive, while smaller inner rings cook faster and make great crispy snacks.
6. Batch Frying Strategy: Never overcrowd your frying vessel as this drops the oil temperature dramatically and results in soggy onion rings. Fry in small batches of 4-5 rings at a time for consistent, professional results.
7. Season Immediately: For maximum flavor impact, lightly sprinkle your onion rings with a pinch of salt or your favorite seasoning blend immediately after removing them from the oil while they’re still glistening. The residual heat helps the seasonings stick perfectly to the coating.
Storage and Reheating Guidance
Store leftover onion rings in an airtight container in the refrigerator for up to 2 days. Reheat in a 400°F oven for 5-7 minutes or in an air fryer at 375°F for 3-4 minutes until crispy again. Avoid microwaving as it makes them soggy and loses that essential crunch.
Brenda Gantt Onion Rings Recipe
Ingredients
Method
- Step 1: In a shallow bowl or dish, combine the all-purpose flour, paprika, garlic powder, onion powder, salt, and black pepper. Stir the dry ingredients until well mixed and evenly distributed.
- Step 2: Pour the buttermilk into a separate bowl or dish, creating your wet coating station.
- Step 3: Dip each onion ring into the buttermilk, ensuring it is fully coated on all sides and allowing any excess to drip off briefly.
- Step 4: Transfer the buttermilk-coated onion ring to the flour mixture and coat it thoroughly, pressing gently to adhere the flour mixture to the onion ring. Shake off any excess flour and place on a prepared surface.
- Step 5: Place the coated onion ring on a baking sheet or wire rack. Repeat the dipping and coating process with the remaining onion rings, working in batches if needed.
- Step 6: Fill a deep skillet or Dutch oven with enough vegetable oil to submerge the onion rings (about 2-3 inches deep). Heat the oil to a temperature of 375°F (190°C), using a kitchen thermometer to monitor accuracy.
- Step 7: Carefully place a few coated onion rings into the hot oil, making sure not to overcrowd the skillet. Fry the onion rings for 2-3 minutes, or until they are golden brown and crispy, flipping once if needed for even cooking.
- Step 8: Use a slotted spoon or a spider strainer to remove the fried onion rings from the oil, allowing any excess oil to drain back into the pot.
- Step 9: Transfer the fried onion rings to a paper towel-lined plate to remove any additional oil. Allow the oil to return to temperature before frying the next batch.
- Step 10: Serve the fried onion rings immediately while they are still hot and crispy for the best texture and flavor.
Video
Notes
Common Queries Q&A Section
We’re here to help! Below, you’ll find answers to common questions people usually have about this recipe.
Q: Can I make these onion rings ahead of time?
A: You can prepare the coated onion rings up to 2 hours in advance by placing them on a baking sheet in a single layer and refrigerating them uncovered. This actually helps the coating set better. However, for the crispiest results, fry them just before serving. Fried onion rings are best enjoyed fresh, though you can reheat them successfully using the methods described in the storage section.
Q: What type of oil works best for frying onion rings?
A: Vegetable oil, canola oil, or peanut oil are excellent choices for frying onion rings due to their high smoke points and neutral flavors. Peanut oil is particularly popular for achieving restaurant-quality crispiness. Avoid olive oil as it has a lower smoke point and can impart unwanted flavors. You’ll need enough oil to fully submerge the rings, typically 2-3 inches deep in your cooking vessel.
Q: Why are my onion rings falling apart or the coating sliding off?
A: This common issue usually stems from a few factors. First, ensure your onion rings are completely dry before coating, as excess moisture prevents proper adhesion. Second, press the flour mixture firmly onto the buttermilk-coated rings to help it stick. Third, let the coated rings rest for 10-15 minutes before frying so the coating can set. Finally, make sure your oil is hot enough; if it’s too cool, the coating can slide off before it sets.
Q: Can I use regular milk instead of buttermilk?
A: While buttermilk provides the best flavor and helps create a tender, crispy coating, you can substitute it with regular milk. For closer results, make a buttermilk substitute by adding 1 tablespoon of lemon juice or white vinegar to 1 cup of milk and letting it sit for 5 minutes. The acidity helps tenderize the coating and adds that characteristic tangy flavor that makes these onion rings special.
Q: How do I know when the oil is at the right temperature without a thermometer?
A: If you don’t have a kitchen thermometer, test the oil by dropping a small piece of bread or a pinch of flour mixture into it. If it sizzles immediately and turns golden brown within 60 seconds, your oil is ready. Alternatively, insert a wooden spoon handle into the oil; if bubbles form around it steadily, the temperature is correct. However, investing in an inexpensive thermometer ensures consistent results every time.
Q: Can I bake these onion rings instead of frying them?
A: Yes, you can bake them for a lighter version, though they won’t be quite as crispy as the fried version. Preheat your oven to 450°F, place the coated rings on a greased baking sheet, spray them lightly with cooking oil, and bake for 12-15 minutes, flipping halfway through. For even better results, use an air fryer at 400°F for 8-10 minutes, which more closely mimics the texture of deep-frying.
Q: What’s the best way to cut onions into even rings?
A: Start by cutting off both ends of the onion, then peel away the papery outer layer. Slice the onion crosswise into 1/2-inch thick rounds using a sharp knife. Gently separate the rounds into individual rings, discarding the very small center pieces or saving them for other recipes. Keeping the slices uniformly thick ensures even cooking and consistent crispiness across all your onion rings.
Q: My onion rings are greasy. What went wrong?
A: Greasy onion rings typically result from oil that’s too cool or from not draining them properly after frying. Always maintain the oil temperature at 375°F and avoid overcrowding the pan, which drops the temperature. After frying, let excess oil drip back into the pot before transferring rings to paper towels. You can also place them on a wire rack over paper towels for even better drainage and to keep the bottom from getting soggy.
This Brenda Gantt onion rings recipe proves that Southern comfort food doesn’t need to be complicated to be absolutely delicious. With just a handful of pantry staples and the right technique, you can create crispy, golden onion rings that rival any restaurant version.
The combination of buttermilk tanginess, perfectly seasoned coating, and sweet tender onions creates an irresistible appetizer that brings people together.
Whether you’re serving them at your next cookout or treating yourself to a homemade snack, these onion rings deliver that authentic Southern taste in every crunchy bite. Give this recipe a try and experience the magic of homemade onion rings done right!
Also, follow along on Pinterest and Reddit for more tasty updates. Your support and thoughts mean the world!