Ingredients
Method
- Step 1: In a shallow bowl or dish, combine the all-purpose flour, paprika, garlic powder, onion powder, salt, and black pepper. Stir the dry ingredients until well mixed and evenly distributed.
- Step 2: Pour the buttermilk into a separate bowl or dish, creating your wet coating station.
- Step 3: Dip each onion ring into the buttermilk, ensuring it is fully coated on all sides and allowing any excess to drip off briefly.
- Step 4: Transfer the buttermilk-coated onion ring to the flour mixture and coat it thoroughly, pressing gently to adhere the flour mixture to the onion ring. Shake off any excess flour and place on a prepared surface.
- Step 5: Place the coated onion ring on a baking sheet or wire rack. Repeat the dipping and coating process with the remaining onion rings, working in batches if needed.
- Step 6: Fill a deep skillet or Dutch oven with enough vegetable oil to submerge the onion rings (about 2-3 inches deep). Heat the oil to a temperature of 375°F (190°C), using a kitchen thermometer to monitor accuracy.
- Step 7: Carefully place a few coated onion rings into the hot oil, making sure not to overcrowd the skillet. Fry the onion rings for 2-3 minutes, or until they are golden brown and crispy, flipping once if needed for even cooking.
- Step 8: Use a slotted spoon or a spider strainer to remove the fried onion rings from the oil, allowing any excess oil to drain back into the pot.
- Step 9: Transfer the fried onion rings to a paper towel-lined plate to remove any additional oil. Allow the oil to return to temperature before frying the next batch.
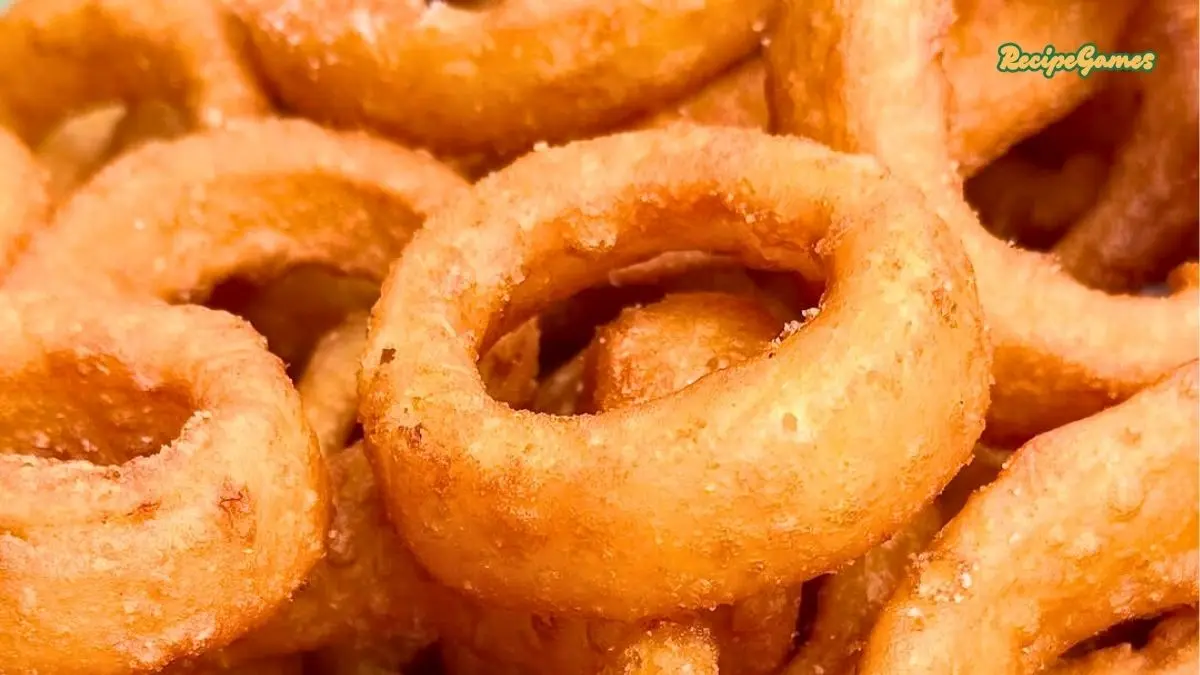
- Step 10: Serve the fried onion rings immediately while they are still hot and crispy for the best texture and flavor.
Video
Notes
Store leftover onion rings in an airtight container in the refrigerator for up to 2 days. Reheat in a 400°F oven for 5-7 minutes or in an air fryer at 375°F for 3-4 minutes until crispy again. Avoid microwaving as it makes them soggy and loses that essential crunch.